CLICK HERE FOR FREE BLOG LAYOUTS, LINK BUTTONS AND MORE! »
Showing posts with label sewing. Show all posts

Thursday, August 11, 2011

An Outfit for Peanut!


I just love the way this little skirt and matching bow turned out! It was super easy to make and I think she looks adorable!


Today I'm linking up with these great blog parties:

Brandy's Crafts: Gluesticks
Paisley Passions: Thrilling Thursday
Somewhat Simple: Strut Your Stuff
A Glimpse Inside
Fireflies and Jellybeans: Show off your Stuff

Thursday, July 28, 2011

A simple Dress

I finally took some time from playing outside with my little peanut to come in and do some much needed sewing. Yesterday, I made this cute little dress for my peanut to wear and I think it turned out adorable. I didn't use a pattern I just used a dress that my little peanut already had to trace out the size and Ta DA~ A cute, simple, carefree sundress!


Today I'm linking up with these blog parties. Have a great day!


Branys Craft Blog: Gluesticks


Paisley Passions: Thrilled on Thursday

Somewhat Simple: Sturt your stuff

A glimpse Inside

Fireflies and Jellybeans: Show off your stuff

Friday, June 10, 2011

A shirt refashion for the Peanut

One of my little Peanut's shirts was getting too short so it was time to make it into something useful for summer! I cut the long sleeves off and added some fabric to make this sweet little summer dress!


This great project cost me less than $5, can't beat that for a new little dress!

Today I'm linking up with these great blogs:


Happy Crafting!!

Thursday, March 24, 2011

Just a little something for your hair

Things have been very busy around our house lately and I've not had a lot of time to craft this week. Luckily parent conferences will be done this Friday and things at home should slow down a bit, I was able to find a little time to quickly whip out a few ruffled headbands.


These are super fast and SUPER easy! I can't wait to make more. I even thought of making one for all the girls in my classroom for Easter. Then again it has just been a thought so we'll see what happens with that.

Today I am linking up with these great blogs, check them out!


Catch a Glimpse Button


giveaways


Friday, March 18, 2011

Vintage Cuff

I have fell in love with making these cute, easy, and inexpensive cuffs. It's amazing how quickly you can have an accessory that makes a huge impact on your outfit!

You will need the following materials:
Toilet Paper roll
Hot Glue gun
Fabric
Embellishments
Ribbon


How to make it:
1. start by cutting a toilet paper roll in half length wise.

2. Next, cut the roll to the desired width that you would like your cuff to be.

3. Cut your fabric so that it covers the toilet paper roll. If you want you can add fray check so edges of your fabric won't fray otherwise you can leave it.

4. Hot glue the fabric to the toilet paper roll.

5. Hot glue two pieces of ribbon to each end of the cuff. This will be how you tie your cuff on to your wrist.

6. Finally add embellishments of your choice to the cuff. I used white lace, a few mini pearls, and a decorative button.

** All this was done with no sewing involved and I love it.


Today I am linking up with these blog parties, check them out and enjoy!!

Craft Couture


Craft Couture


Happy Crafting!!

Thursday, March 10, 2011

Anthropology Insired Necklace

OK so I decided to make my own Anthropology necklace. Yes, I know that it is not exactly like there's, but I think it is great and it didn't cost me over $7 which makes it even better!


I started by cutting strips of fabric that were 1 inch wide and 3 inches long. Then I took some felt and cut it into 1 inch squares.

From this point on it was easy! One at a time I gathered up a fabric strip and using my hot glue gun, I glued it down to the center of the felt square. I continued doing this working my way out from the center of the square. Do this till you think it is full enough for your liking.

Next, I had some chain that I purchased at Michael's. I chose the length of my chain added the fasteners and then arranged my 5 felt squares on the chain. Once I was happy with the arrangement I used a needle and thread to hand sew the felt squares to the chain. This is optional but I figured it would make it more secure.

Finally, I cut another piece of felt that matched the layout of my new fabric arrangement and hot glued it to the back half of my necklace. This felt basically sandwiched the chain between the felt pieces. Make sure that it isn't visible when you are wearing the necklace, you may need to trim it up.

And there you have it a cheap, easy, yet very fashionable necklace. You can jazz it up with just about anything. I have another that I am working on that is very sassy, but I'll save that for another day!!


Today I am linking up with these great blogs:


Catch a Glimpse Button


giveaways

Thursday, February 24, 2011

Dress it up with a Cuff!

This week has been very busy with work, and preparing for my brother-in-laws wedding. I have been able to find a little time to complete a few crafts but not as much as I'd like. Here is a little peak at the cuff's I made. They are super simple and add just enough flair to any outfit! I have many other great ideas to do for future cuff's but until things slow down I don't think I'll be completing them this week!


Today I am linking up with the following blogs, check them out for inspiration and fun!


A Glimpse Inside


giveaways


Thursday, February 10, 2011

Love our Ruffles!

Wow, today is going to be a rough day!! I don't believe that I slept at all last night! The hubby is gone on a business trip and I got a phone call after 11 that our dog was out. So I spent some time repairing his pen in the dark and not to mention the freezing cold weather!! Needless to say by the time I got to sleep it seemed that my alarm was going off! Can't wait for the hubby to return tonight. I did however get a few crafts done last night before everything fell apart!

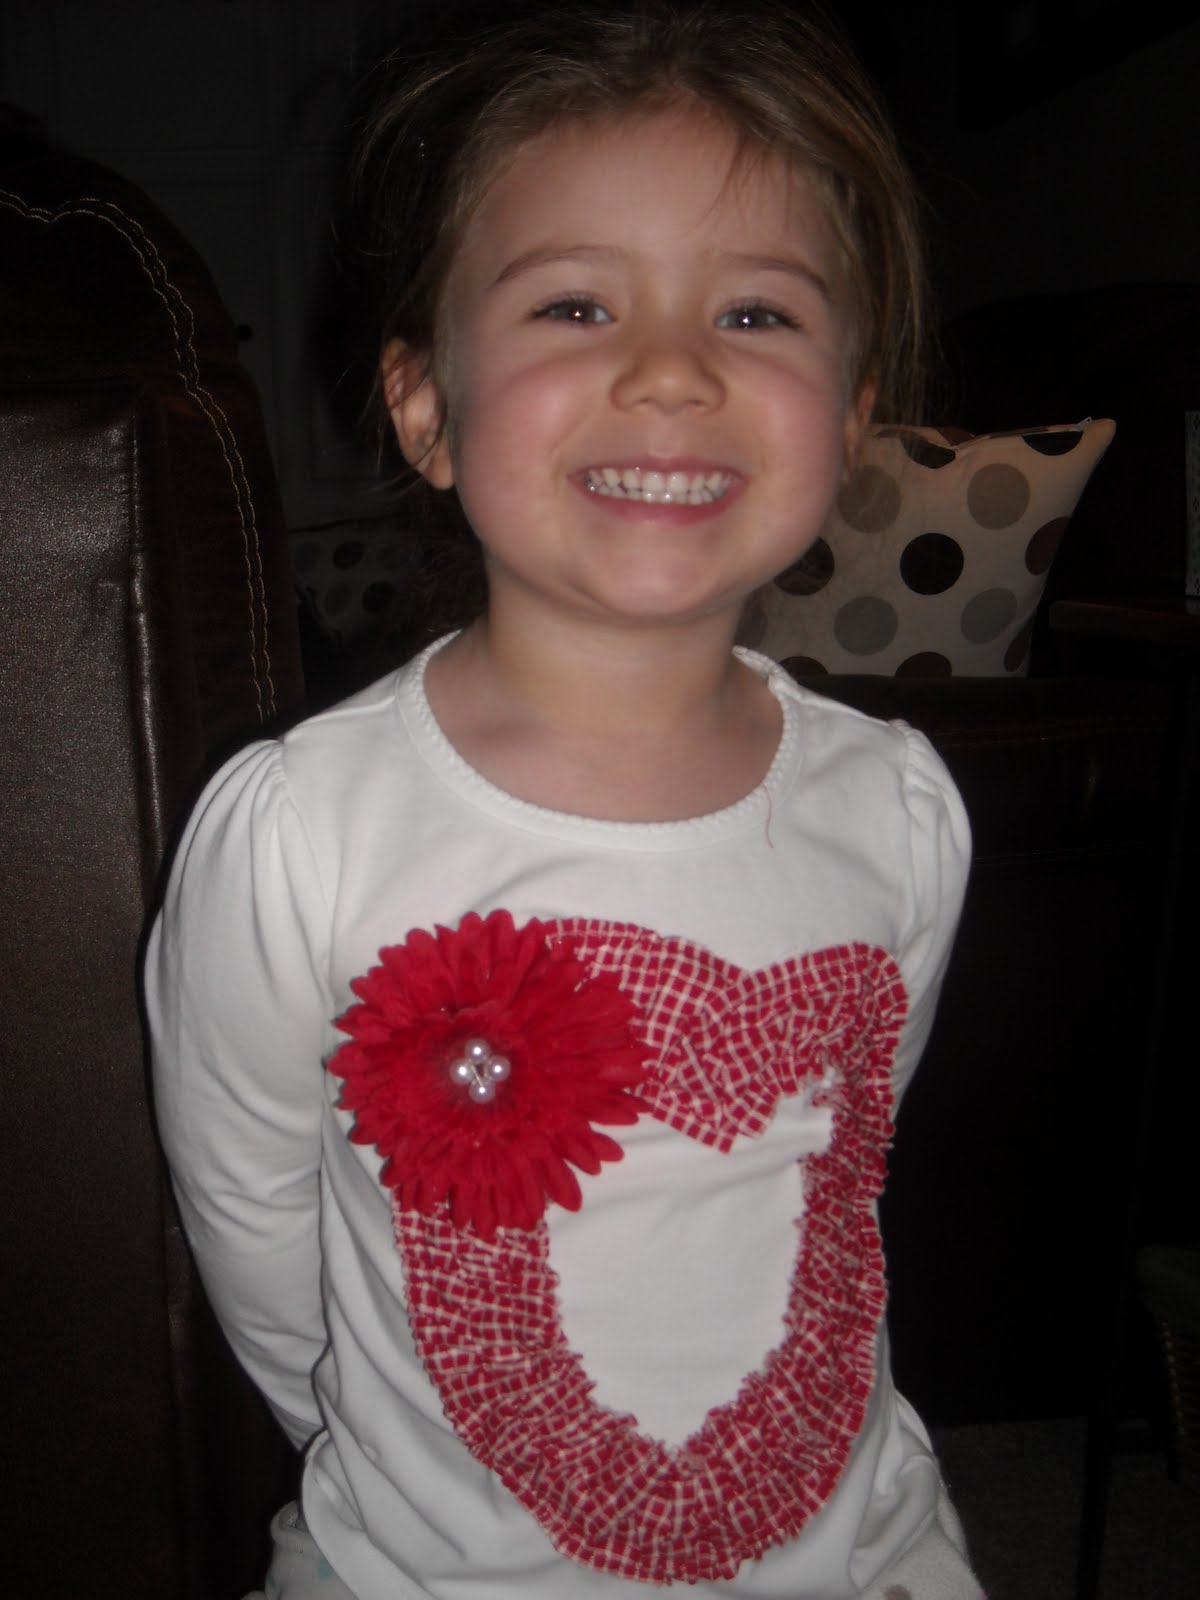
I loved the shirt that Miranda made at Just Drink a Coke and knew that my Miss Ava needed one right away. I must admit that I tried over and over again with ribbon and for the life of me I couldn't get it to work. That darn thread kept breaking every time I would get about a quarter of the way through the ribbon. I finally gave up and made my ruffle out of fabric. I then spent about 20 minutes trying the get the heart shaped just right on the tee and began to sew it on. I still don't think that the heart looks very balanced on the shirt but oh well. Of course Miss Ava wanted to add a little more flair to her heart so we made a flower and glued on some little pearls in the center and She was ready to go!

She loved her little shirt and of course wore it to school today! I should have taken a photo of her with it on this morning since she looked so darn cute!! I guess the photo's from last night will have to do!

My Little Princess Modeling mommy's new creation!


An up close shot!


Today I am linking up with the following blog parties, enjoy the fun!


A Glimpse Inside


giveaways


Thursday, January 13, 2011

T-Shirt Make Over- Lovin' Ruffles

Yesterday I was determined to start a project and finish it. You see I love to craft, however the week nights are not usually free time for me to get my craft on. Being a full time teacher, mom, wife, and cardio Kickboxing instructor doesn't allow me a lot of "me" time, but I am learning to make things work. Yes, it is very hard for me to sit down and craft when I know that there are things that could be picked up, laundry that could be started, or even bags that could be packed for the next day. Fortunately I am beginning to learn that all those things will still be there later and "Me" time is very important for myself and my family!!

Last night after dinner was done, jammies were on, and everyone was relaxing I pulled out the sewing machine, a T-shirt that I have been wanting to redo and got started. I love Michelle's blog, Polka Dots and Pizza, she has some of the cutest ideas. I loved her redo on a plain old boring t-shirt and I finally completed mine.

Drum roll please. . . . . . . .


An up close of the ruffles!


A full view of the shirt, which is not hanging on the hanger neatly at all!

So Thank you Michelle for your great ideas! If you haven't been to her blog, please check it out, I love it. Click here Polka Dots and Pizza.

For the complete tutorial on this t-shirt refashion head over to Dorian's Blog, That's Sew Me, which is an awesome blog as well!

Thanks Ladies for your inspirations!!


giveaways


Catch a Glimpse Button